5 Simple and Easy Steps to Fix Bad Image Error in Windows 10
4 min read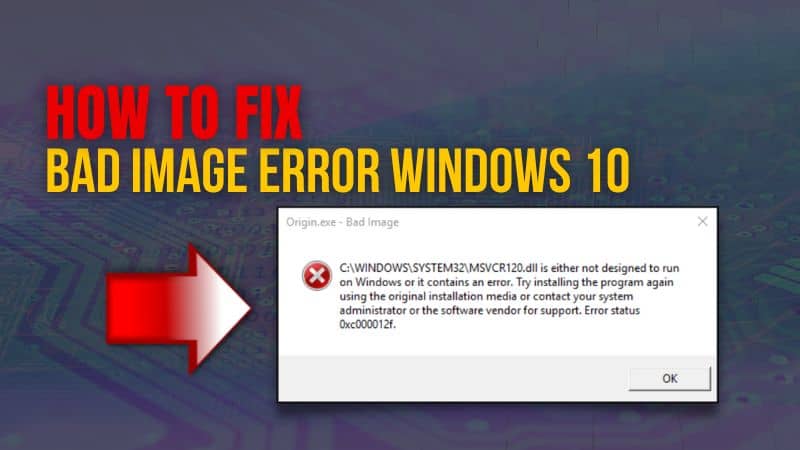
Bad image error can really become a headache when you are doing important tasks on your computer or launching a new program that you installed.
Moreover, it doesn’t matter if you have windows 7,8, 10, or 11, your screen gets hit by a bad image 0xc000012f error and stops all your work.
In short, these bad image errors prevent you from your work and create difficulties for you.
Bad image errors in windows are generally caused by corrupted drivers or incompatible software updates.
Therefore, we are going to learn the ways of how to fix bad image errors in windows or PC.
So, let’s get started with the introduction!
What is a Bad Image Error Windows 10?
A bad image windows error happens generally when your system is launching a program.
It gets difficult during the launch of the program because the files and drives that your system needs in launching are either corrupted or damaged.
Certainly, bad image error windows 10 after update is really common among windows users.
Moreover, updating your windows 8 to 10 or 11 but with the defective pre-installed updates can lead to you having these image errors.
In addition, having corrupted file entries, fragmented files, and incorrect system settings can also be the reason for these bad image errors.
So, removing the defective updates and uninstalling the software that is creating corrupted files can easily help you to get rid of the bad image error windows 10.
But in case, if these ideas don’t work there are some more ways and steps available to remove bad image errors.
How to Fix Bad Image Error Windows 7, 10, or 11?
Before going through the steps on how to fix bad image error. The first and most important thing you should do is to back up your data.
Of course, you don’t want your precious data to be removed from the computer because of these fixes.
So, it’s better to create a backup of your important data. Copy all your data to an external storage or part of your disk where all your important data is stored.
Now, let’s move to the ways of how to fix bad image error.
#1. Uninstalling and Re-installing the Program
The first thing you do is to uninstall and reinstall the defective program. This will help you to get rid of the bad image error windows 10 0xc000012f code.
For that, go to the settings, choose the program, and easily uninstall it or press WIN+R > type appwiz.cpl and press enter.
Now, double-click the program producing those bad image errors and uninstall it. Then, launch the program after re-installing it.
After that just check if the error is still happening or not.
#2. Uninstall the recent windows update
Your recent windows update may become the cause of your bad image errors.
Therefore, to solve this problem go to your windows 10 control panel and press enter.
Then, select the programs option > program features then click on “view installed updates”.
Now, search for the recent update from the list and select uninstall.
After that, restart your Pc and check for errors.
It is one of the easiest ways to remove bad image errors windows 10.
However, if you have windows 11, you can easily go to the settings > windows updates > update history and can uninstall the recent updates.
#3. Run an SFC scan
Running an SFC scan can help you to remove all the issues on your pc including Bad image error issues.
To run an SFC scan press Win+ R > type “cmd” then press enter. After getting in the command prompt screen a new window will appear.
type “sfc /scannow” without any inverted comma and then press enter.
Now, your windows will scan the errors and fix your computer or PC by removing all the problems.
#4. Run windows troubleshoot and clean boot
If you have newer versions like Windows 10 or 11 then this troubleshooting tool can come in handy to fix bad image error windows 10 0xc000012f.
Type “msconfig” in the windows toolbar then select the general tab.
On the selective startup option, untick the “lead system services”.
Now go to services and tick “hide all Microsoft services” and click “disable all”.
Again, go to the “startup” option and click on “open task manager”. Now click on the problematic program and choose disable.
Moreover, you have to do this for every issued program.
After doing it, click on disable and restart your pc. After restarting, enable all programs individually. It will help you identify the problematic program.
#5. Performing a system restore
If all those methods don’t work, performing a system restore setting is your only option to get rid of those bad image errors.
This windows system restore setting can help you to get rid of the bad image error without losing the important data of your computer.
Search for “rstrui” in your windows search bar and press enter. Click on “Choose a different restore point” > next.
Select a restore point then click on next. Click “Finish” and then “yes” on the dialog box.
Now, just wait for the process to be done, and do not interrupt your system.
So, these are some of the ways how to fix bad image error windows 11 or 10.
However, if these fixes don’t work then customer support is your only option.
Moreover, contact Microsoft care support, they will guide you to resolve the problem and get make your pc error-free.
Conclusion
Bad image errors have no particular reason or cause. That’s what makes it more difficult to deal with them.
But now, for you, this will be a piece of cake because of the fixes that we discussed earlier.
You don’t need to go for customer care support because can easily run commands and uninstall the software with the easy steps discussed that we discussed.
These ways or solutions can help you get rid of those errors without losing your precious data.
You may also like: How To Check Hard Disk Health On Windows 10.