How To Fix Pixelated Images? [Fix Pixelated Image Online]
5 min readTo Fix Pixelated Images is a much-dogged work these days, moreover due to improper resizing and compression the quality of the image may get shoddier.
Moreover, you must have tried zooming out the photos and thought of getting a clear image, but guess what you’ll get? A blurry and grainy image.
And that’s what we call the Picture is Pixelated, hence, this usually happens when you try to resize the image, and then the problem arises when the bitmap graphic gets larger than the supported resolution.
But, maybe you need a larger version of the photo, so, understanding your problems, we are going to give you top solutions to fix Pixelated image online so that you don’t have to end up with wrenched images.
Note: If you don’t want to go for manual methods, then you can also opt for Stellar photo repair app download, the Software easily repairs blurry photos in a go.
However, stay with us and keep reading the blog to know the solutions to fix pixilated images.
Why Do My Pictures Become Pixelated
Before moving toward the fixation process, let us clarify to you what we are going to deal with.
So, when your image has more pixels, it will have more resolution and will look clear.
But, if the resolution is low then, the image will look blurry, hazy, or pixilated.
Common Reasons For Pixelation Are:
- Low-Resolution Images
- Wrong compression of image
- Improper resizing of photos
How to Fix Pixelated Images?
You can use any photo editing ways to fix the blurry images and most people prefer Photoshop for fixing the resolution.
So, we’re going to furnish you with the proper methods with and also without Photoshop to reduce the resolution in pictures.
How to Fix a Pixelated Image in Photoshop?
Using Photoshop, you can surely improve the resolution of your image by fixing the resolution and pixels.
Method 1: Fix the Resolution of Picture Using Photoshop
- Open the image in Photoshop.
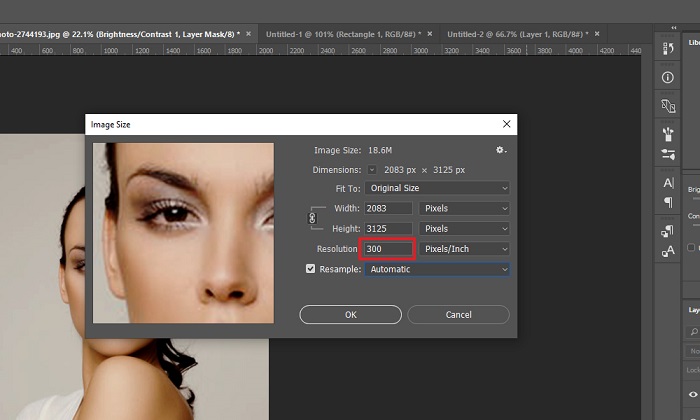
- On the top Menu Bar go to Image, then select Image Size, now change the resolution as you require.
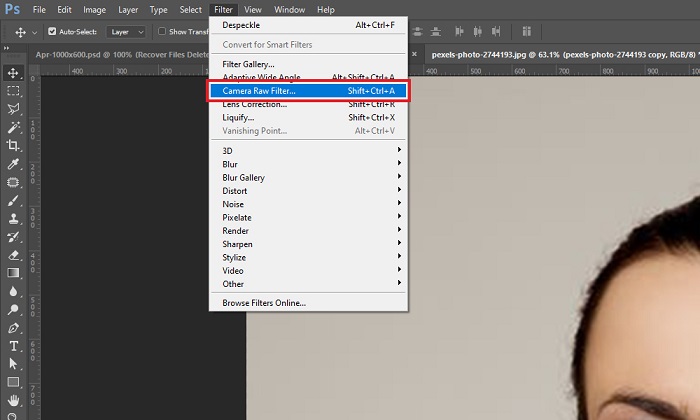
- Now, go to the Filter option, then select Camera Raw Filter from the drop-down.
- Now, into the Camera Raw Window, go to Detailed Box, and then adjust the Sharpening as well as Noise Reduction Sliders until the Pixelation gets clear.
![]()
![]()
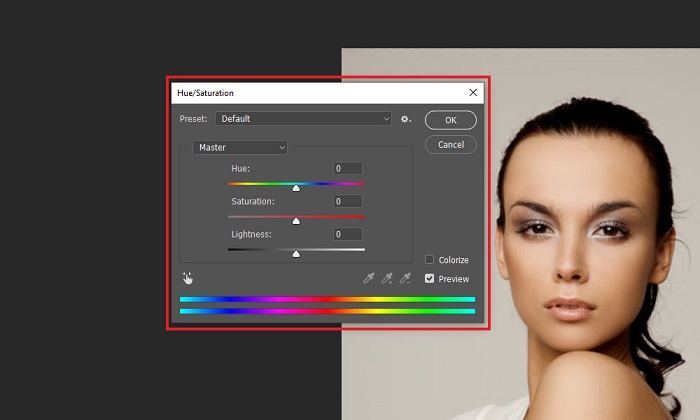
- After that, from the top Menu Bar, go to Image>Adjustment>Saturation.
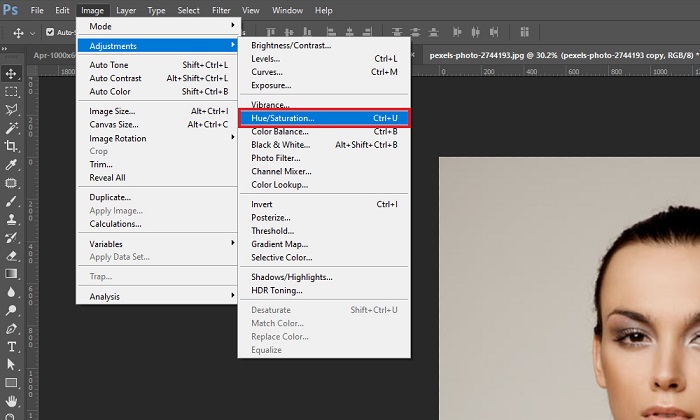
- Now, in the Saturation Box, adjust the color of your picture as required.
- Lastly, click on File, and then select the Save option from the drop-down.
Method 2: Pixelate the Picture Using Blur and Sharpen Option
- Open your image in Photoshop
- Afterward, on the top Menu Bar, click on the Filter option then go to Blur> Gaussian Blur.
- Now, in the Gaussian Blur Window, adjust the slider to an acceptable level, and then click on
- After that, click on Filter, then click on Sharpen, and then Unsharp mask.
- Now, in the Unsharp Mask Window, adjust the slider to an acceptable level, click on
- At last, click on File, then select Save from the drop-down option.
Now, if talking about how to fix pixelated logo in Photoshop? Then you can follow the above-mentioned steps.
How to Fix Pixelated Images in Lightroom?
Adobe has designed Photoshop and Lightroom in such a way that they can work together.
So, when you are done with the finishing in Photoshop, save them within a while, now in Lightroom, you can edit the image using the editing tools.
But, there are also some frequent complaints that Lightroom doesn’t import the images of Photoshop.
If the same problem arises with you too, then follow the instruction provided by us below to scrap the issue.
So, Using the Stellar Repair for Photo Tool, you can easily restore your lightroom files without affecting the original quality.
How To Fix Pixelated Pictures On Mac?
One of the classic ways to sharpen the photos in Mac is by using Unsharp Mask.
Steps to fix Pixelated Pictures on Mac:
- Open the pixelated image in Photoshop.
- Click on Unsharp Mask from the Filters
- After that, a popup menu will appear, now you can adjust the settings to sharpen the image.
Okay, we have seen two amazing methods to fix pixelated images using Photoshop, now let’s see how to depixelate an image without Photoshop?
How To Fix Pixelated Pictures Without Photoshop?
You can unpixelate your image without Photoshop for sure, but do you know how that’s possible?
So, that’s what we are going to tell you in the next few lines.
A staggering way to fix Pixelated Pictures without Photoshop:
So, if you are running out of time and also don’t have that much money, then there are lots of online free tools available in the market.
Hence, using that tool, you can pixelate your images very significantly without downloading them to your system.
What you have to do is simply open the program into your browser, add the image you want to pixelate, and then follow the instructions.
Moreover, there are lots of online tools available, and onto them, the best ones are Pixenate, Fotor, Lunapic, & Pixlr.
Although, according to us Pixenate & Fotor are the best ones.
Using Fotor
- Go to Fotor, then click on the + icon to add the pixelated image.
![]()
![]()
- Now, add the file you want to add to dexpixelate the image.
![]()
![]()
How to Fix a Pixelated Image on iPhone?
So, these were the manual methods to pixelate the image on a computer.
But, how would you pixelate an image on iPhone?
So, for pixelating an image on iPhone, you can download the photo editing apps from the Apple store.
Hence, some of them are Adobe Photoshop Express, Resize-Photo & Sharpen-Image.
Furthermore, these are free photo editing apps that will help in sharpening the feature of the image.
Now, moving further, following the manual steps, if you found them exasperating and on top of that if they didn’t work then, you can go for an advanced method with Tool: Stellar Repair for Photo.
Moreover, the Software can fix the Pixelation problem of your image in no time.
Unlike the above steps, the Software is very easy to use, look at some of the miraculous features of the Software, and also the easy and straightforward steps to use it.
5 Enticing Features of Stellar Repair for Photo Software:
Look at the top 5 features of the Software to fix the Pixelation of your image.
Repairs Multiple Photos in One Go
The Software easily recuperates multiple photos with the same or different formats in a quick and easy way.
Extract Thumbnail of the Corrupted Files
The advanced feature of the Software easily extracts the thumbnails of the severely corrupted images without comprising their original quality.
Recuperates Corrupted JPEG Images Using Sample Files
The Software provides the Advanced Repair option using the Sample files to fix the corruption problem of Pixelated images.
Saves the Repaired Photos at a Desired Location
The Stellar Repair for Photo furnishes the option to save the repaired images at the location of your choice.
Free Version
The most amazing feature of the Software is it comes in a free version too along with the paid ones.
However, with the free version, you can preview your repaired files; hence to save them you are required to go for the Paid Version.
>>Stellar Repair For Photo Free Download<<
Steps to Use Stellar Repair for Photo to Depixelate Images
Follow the easy-to-go steps with the Stellar Repair for Photo Software to fix the Pixelated images with any huddle.
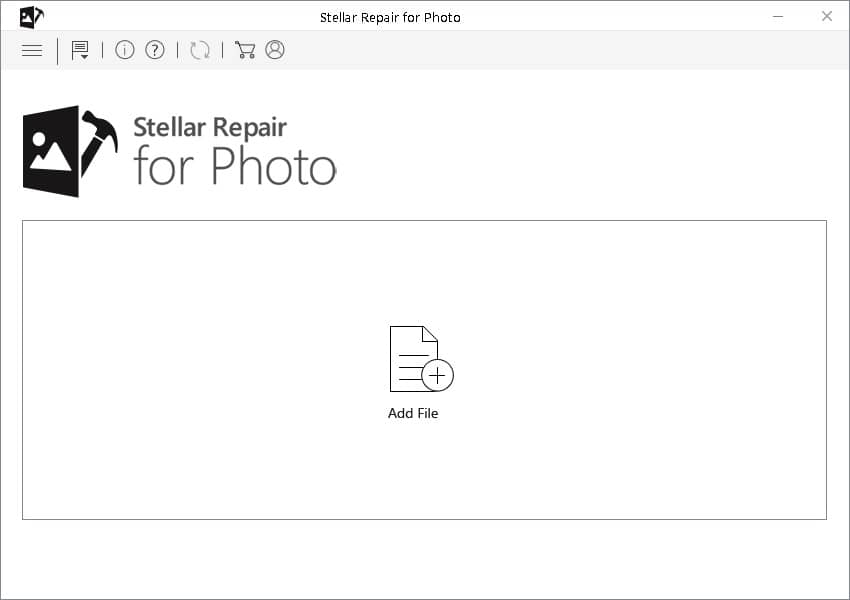
Step1. Click on Add File
Add the pixelated image, you want to repair.
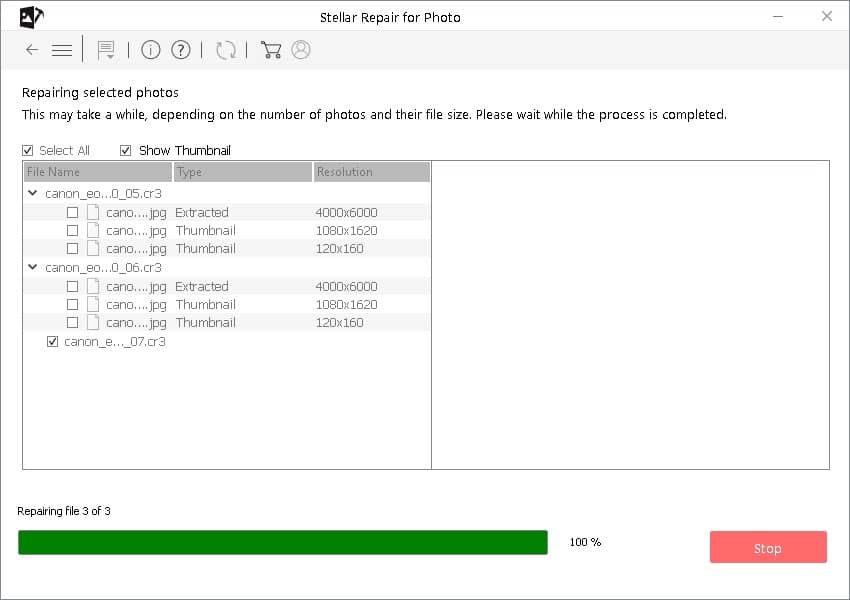
Step2. Click on Repair
Now, the repairing process will start.
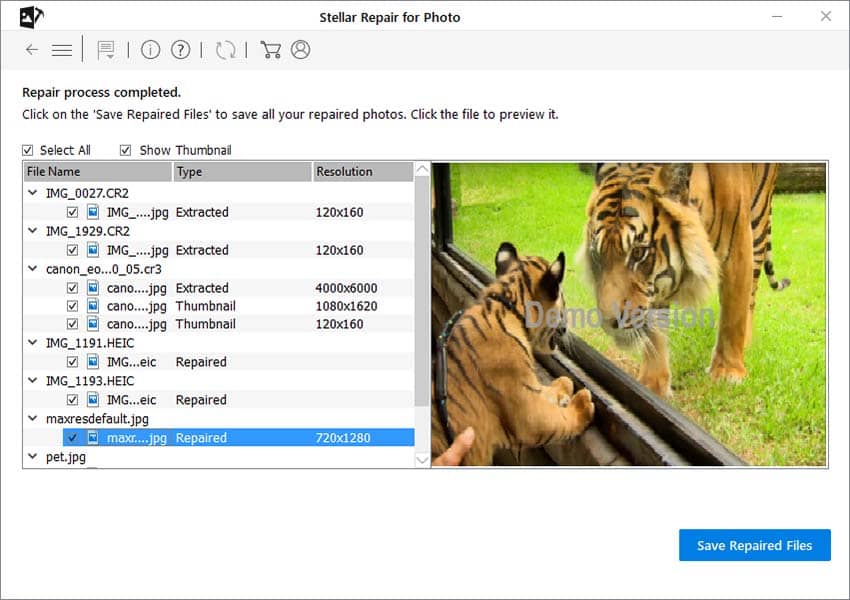
Step3. Select the Save Repaired Files
At last, preview the recuperated files and further save them to the desired location.
So, these were the steps to use the Software for the Pixelation process, now have a look at the pricing detail of the Software.
Stellar Repair for Photo Price
Here below is the detailed price list of the Software for Windows and Mac.
For Windows
For Mac
So, these are the versions in which the Stellar Software is available, all the versions have different performances.
Moreover, the Technician version is one of the royal ones that provide all the features of both the Free & paid versions.
Wrapping UP
Pixelation can be very infuriating to deal with, hence it doesn’t require too much time for the picture to be ruined.
Moreover, the only thing to avoid the Pixelation issue is creating high-resolution images, moreover, you can also follow the methods described by us to fix Pixelated images using Photoshop, or you can also fix your images on iPhone & Mac by following the above methods.
Apart from that, if you are running out of time and have no time going for manual methods, then go for Stellar Repair for Photo that easily repairs all your blurry images.
However, if you still have any further queries, ask us right away in the comment section below.